Now that we have covered the basics of Firebase using a simple HTML & JS form, Let us move to the next steps. In this part we will be seeing how to connect Cloud Firestore to the UI in real time and make real time changes in the client.
To start off with the real time connection, we will reuse our old project that we had created in the part 1 of this series. For this we will be creating a live feed section like Twitch Chat. We will be using Cloud Firestore's real time methods to update all the changes across all the clients that are connected to the feed keeping them in sync.
Let's start off by creating a new index.html file under the public directory. We will rename our old index.html file and keep it there just in case we need it for reference. First we will create a new collection in our database called feeds. This collection will have a document for each feed message that is created.
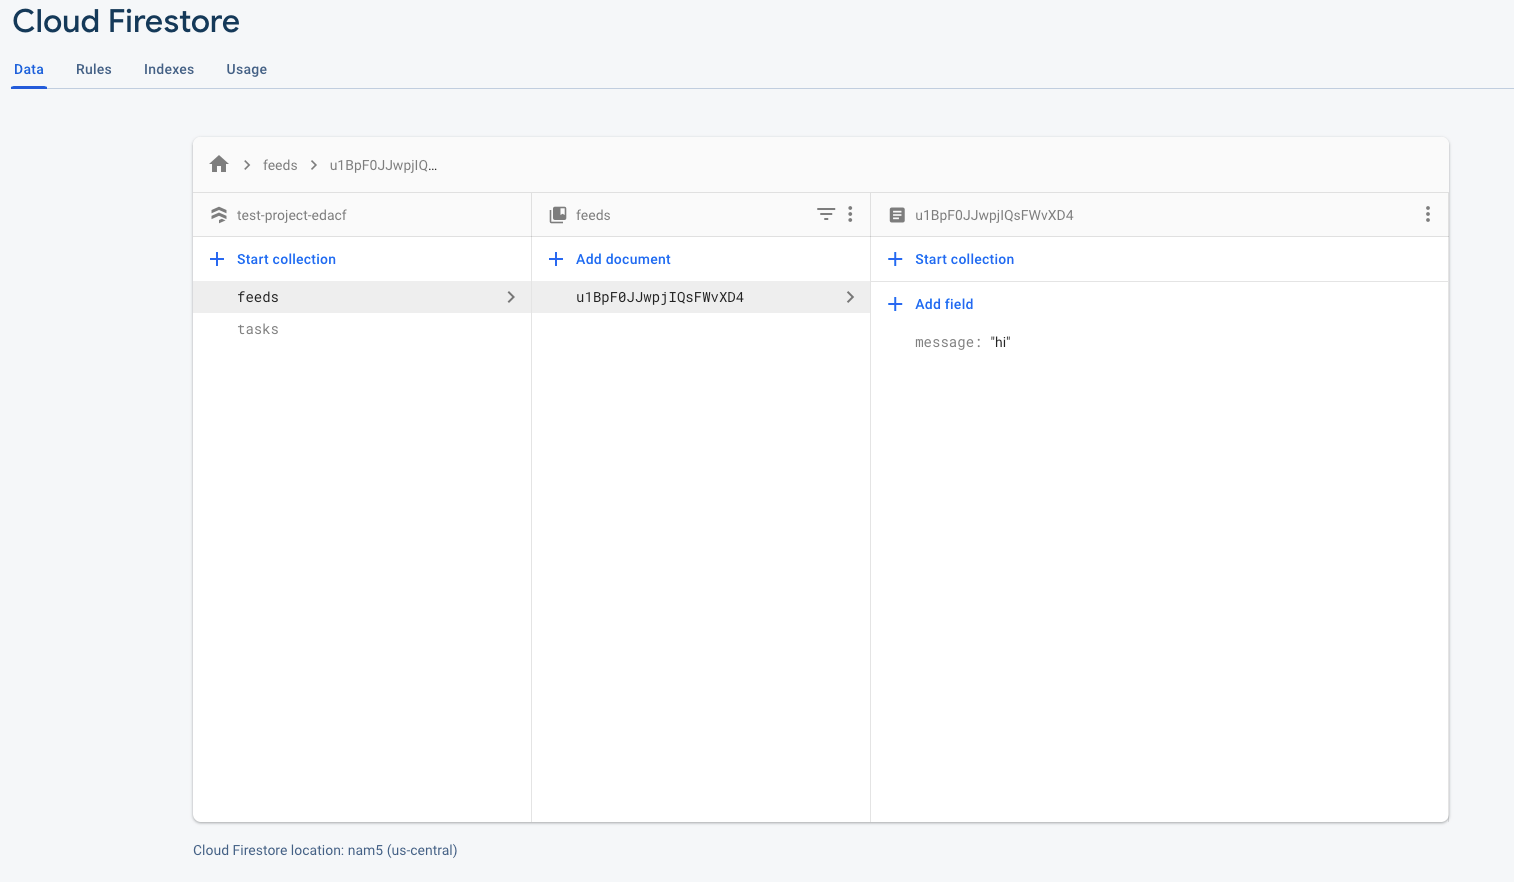
Now let's render our feeds collection using cloud firestore. Normally, we will just use the get() method right? This time we will go for something called onSnapshot(). Let's write that inside our script tag. First let's log our data, then we will display the result as HTML.
// variablesconst firebaseConfig:{ // your config};firebase.initializeApp(firebaseConfig);const firestore:firebase.firestore();
// firebase functionsfunction listFeeds() { return firestore.collection("feeds").onSnapshot(function (querySnapshot) { let feeds:[]; querySnapshot.forEach(function (doc) { feeds.push({ id: doc.id, ...doc.data(), }); }); console.log(feeds); });}
listFeeds();Cloud Firestore has a method called onSnapshot that is triggered every time the collection changes. This method can also be used on a document to detect the document change. The method provides you with a callback function with the querySnapshot of all the documents in the collection at that point of time.
Then, we need to loop through each snapshot in the querySnapshot to extract our document data. You can log the doc object in the loop to check for all the possible types of data you can use to your needs.
In this example, I will be using the id key which holds the document id and the data() to get the body of the document. Let's run the HTML file and check for our log.
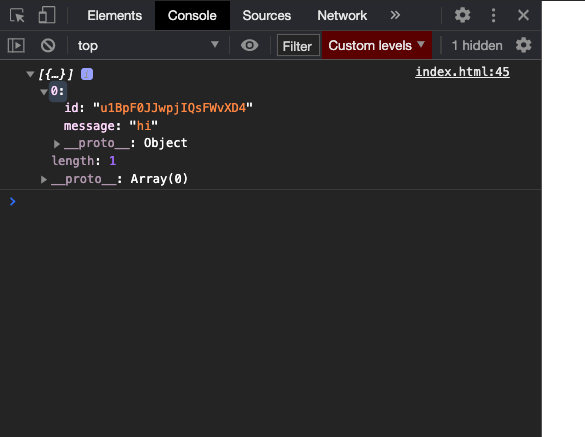
And there you go, we have our first message loaded in the log. Now let's try updating our collection using the Firestore Console and see if it triggers on the client side without refreshing the client.
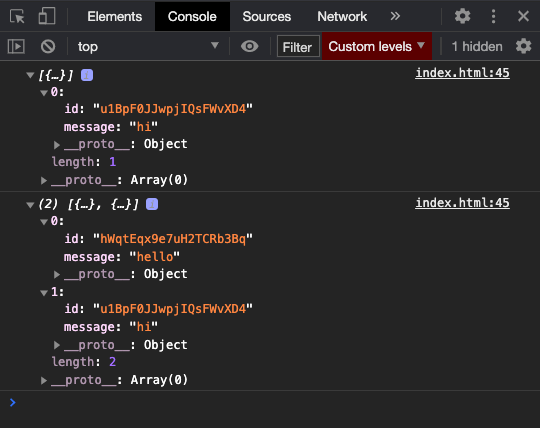
After updating the feeds collection you can now see that a new log has been created and the new list is shown here. Now we will use this to list our feed. We will just list our feed using a li tag and some simple bootstrap styles.
First we will create a ul tag with the ID feeds,
<ul id="feeds" class="list-group list-group-flush"></ul>And now, let's modify our listFeeds() function to something like this. This will indeed cause a problem (for every fetch we will get a history of data, so the IDs will be duplicated in listFeeds()) but for now we will see what we get.
function listFeeds() { return firestore.collection("feeds").onSnapshot(function (querySnapshot) { querySnapshot.forEach(function (doc) { let feed:document.createElement("li"); feed.setAttribute("class", "list-group-item"); feed.setAttribute("id", doc.id); feed.innerText:doc.data().message; document.getElementById("feeds").append(feed); }); });}To make life easier let's create a simple form that will add a new feed on submission. We will use the add() method of Firestore once again to add a new document to the collection. Let's add something like this,
<ul id="feeds" class="list-group list-group-flush"></ul><form onsubmit="return handleSubmit(event)" class="d-flex align-items-center"> <input class="form-control" type="text" name="message" id="message" aria-describedby="emailHelp" placeholder="Type your message here" /> <button type="submit" class="btn btn-primary">Post</button></form>And inside our script tag, let's add,
function handleSubmit(event) { event.preventDefault(); let input:document.getElementById("message"); let message:input.value; return firestore .collection("feeds") .add({ message }) .then(() => (input.value: "")) .catch((err) => console.log(err));}Let's try it now,

As expected, we will get all the array objects again which will push all the existing objects to the HTML once again. We can fix this by clearing the list before a fetch, but instead let's use the docChanges() method of querySnapshot to get only the updated data. Let's modify our code then,
function listFeeds() { return firestore.collection('feeds').onSnapshot(function (querySnapshot) { querySnapshot.docChanges().forEach(function (change) { if (change.type === 'added') { console.log('New city: ', change.doc.data()) } else if (change.type === 'modified') { console.log('Modified city: ', change.doc.data()) } else if (change.type === 'removed') { console.log('Removed city: ', change.doc.data()) } }) })}Now this method will only give us the documents that are added. So initially when the page is loaded, we will receive all the existing documents, and whenever a new document is added, only that document will be sent to us in the docChanges() method.
This will also make it easier to handle each type of change as we know that only that particular decisional branch will be taken. Let's now update our added branch to something like this,
function handleNewFeed(doc) { let feed:document.createElement("li"); feed.setAttribute("class", "list-group-item"); feed.setAttribute("id", doc.id); feed.innerText:doc.data().message; document.getElementById("feeds").prepend(feed);}
// firebase functionsfunction listFeeds() { return firestore.collection("feeds").onSnapshot(function (querySnapshot) { querySnapshot.docChanges().forEach(function (change) { if (change.type === "added") { return handleNewFeed(change.doc); } else if (change.type === "modified") { console.log("Modified city: ", change.doc.data()); } else if (change.type === "removed") { console.log("Removed city: ", change.doc.data()); } }); });}
listFeeds();Let's take a look at it now,
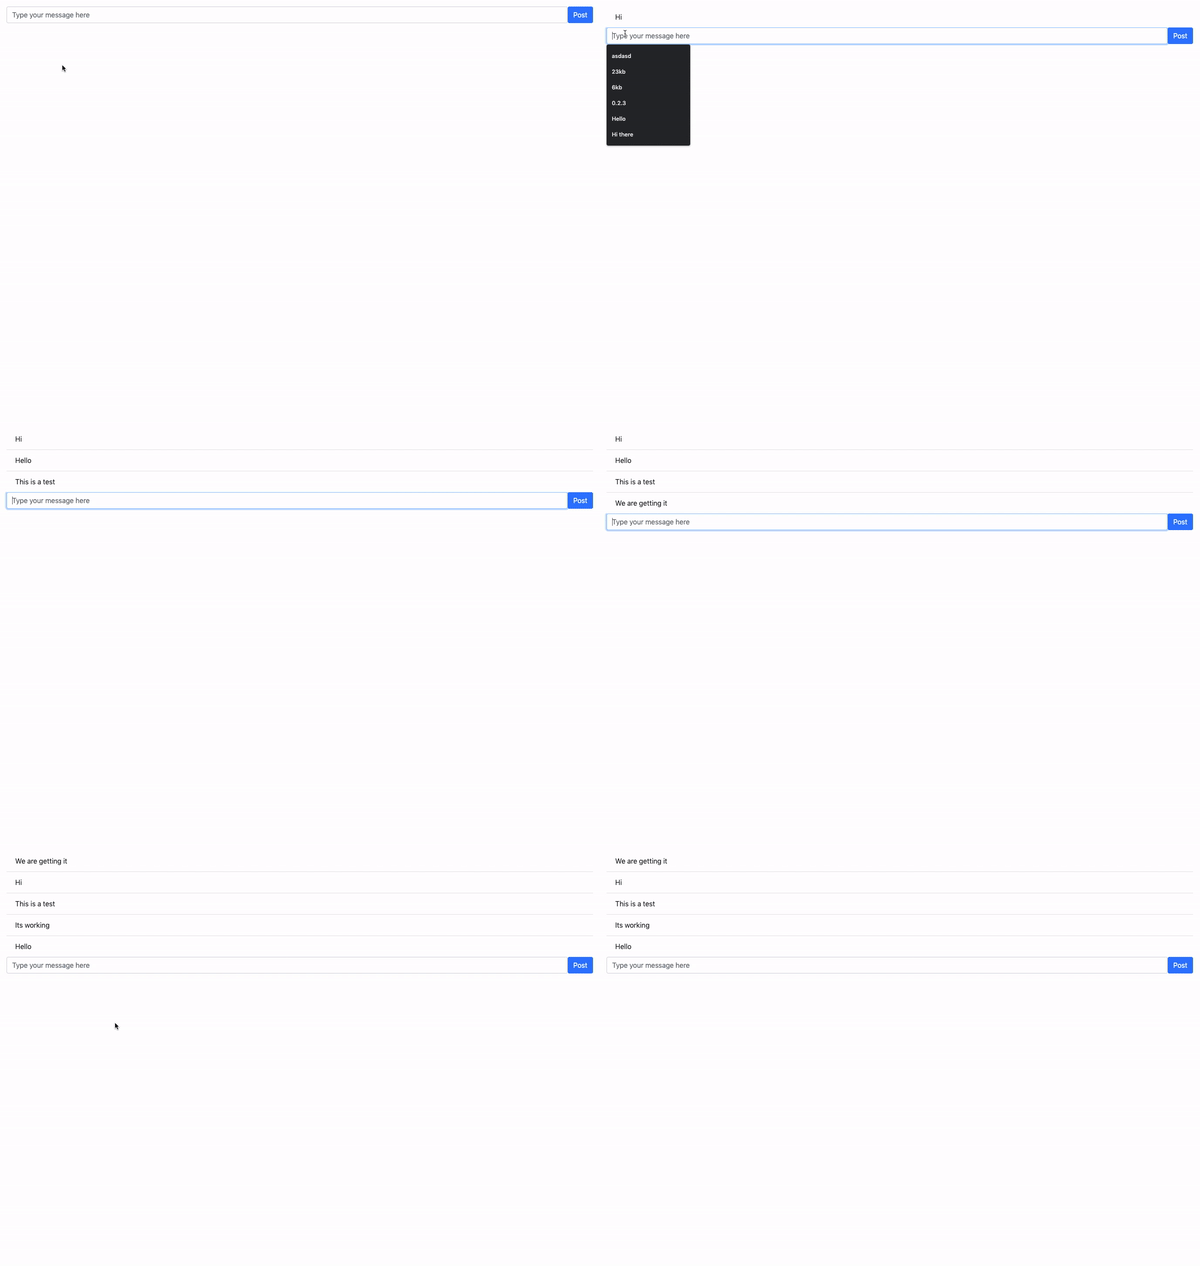
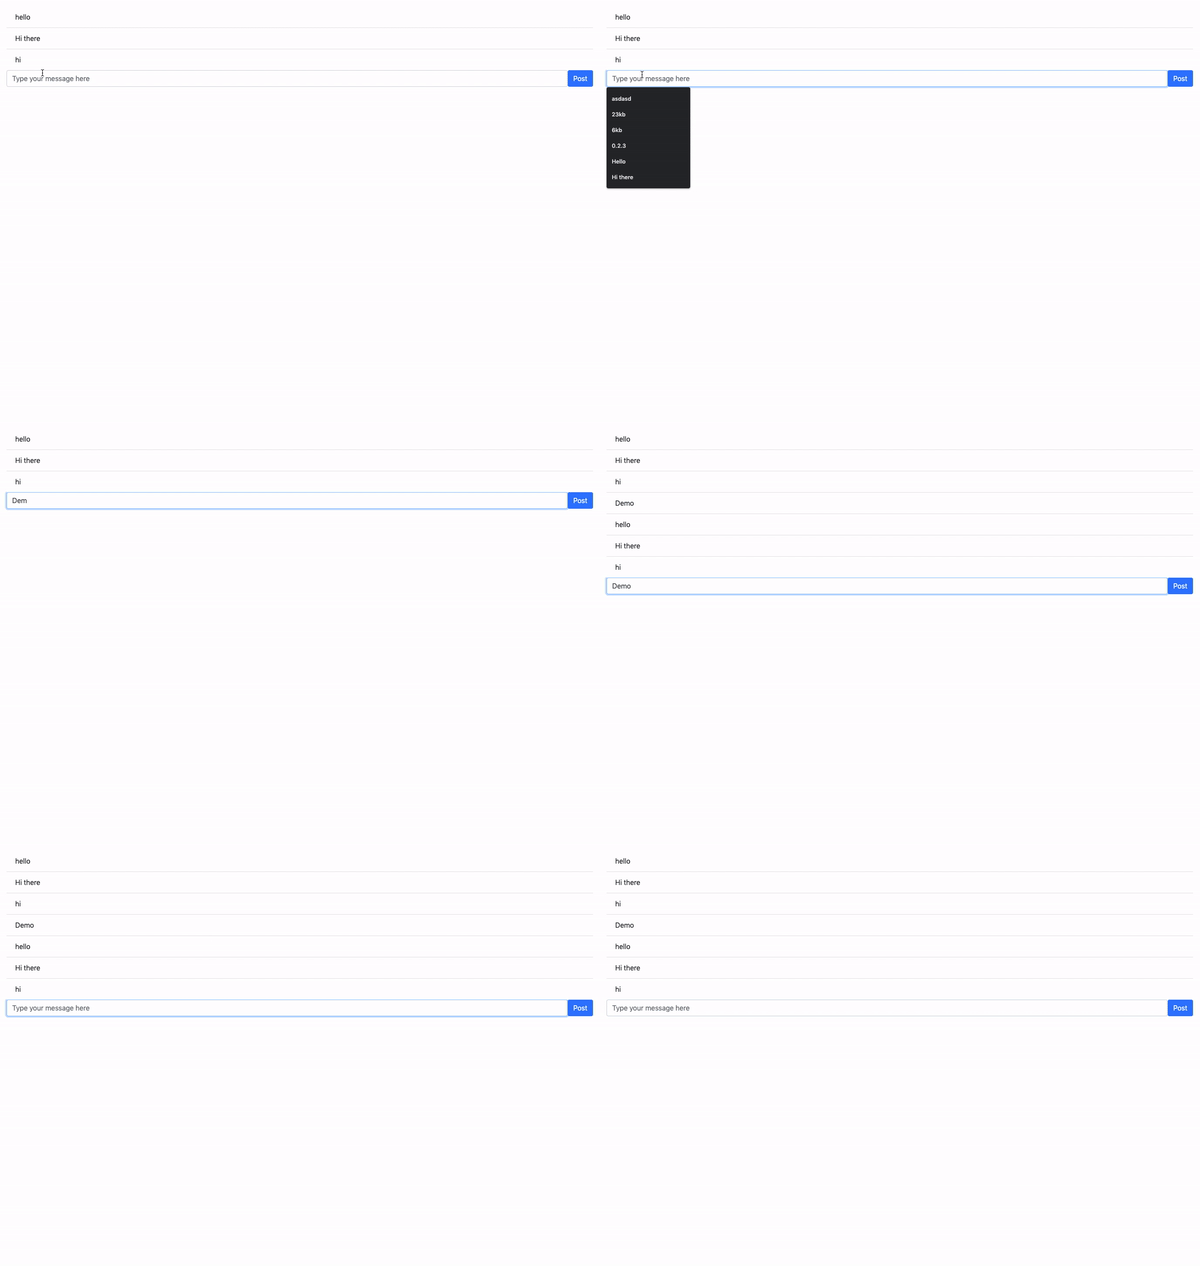
Cool it works!!
Cool, our code is now working. Let's just add some small designs to our code and make it look like a chat. We will open it on multiple tabs or windows and check if the message is reflecting across all tabs.
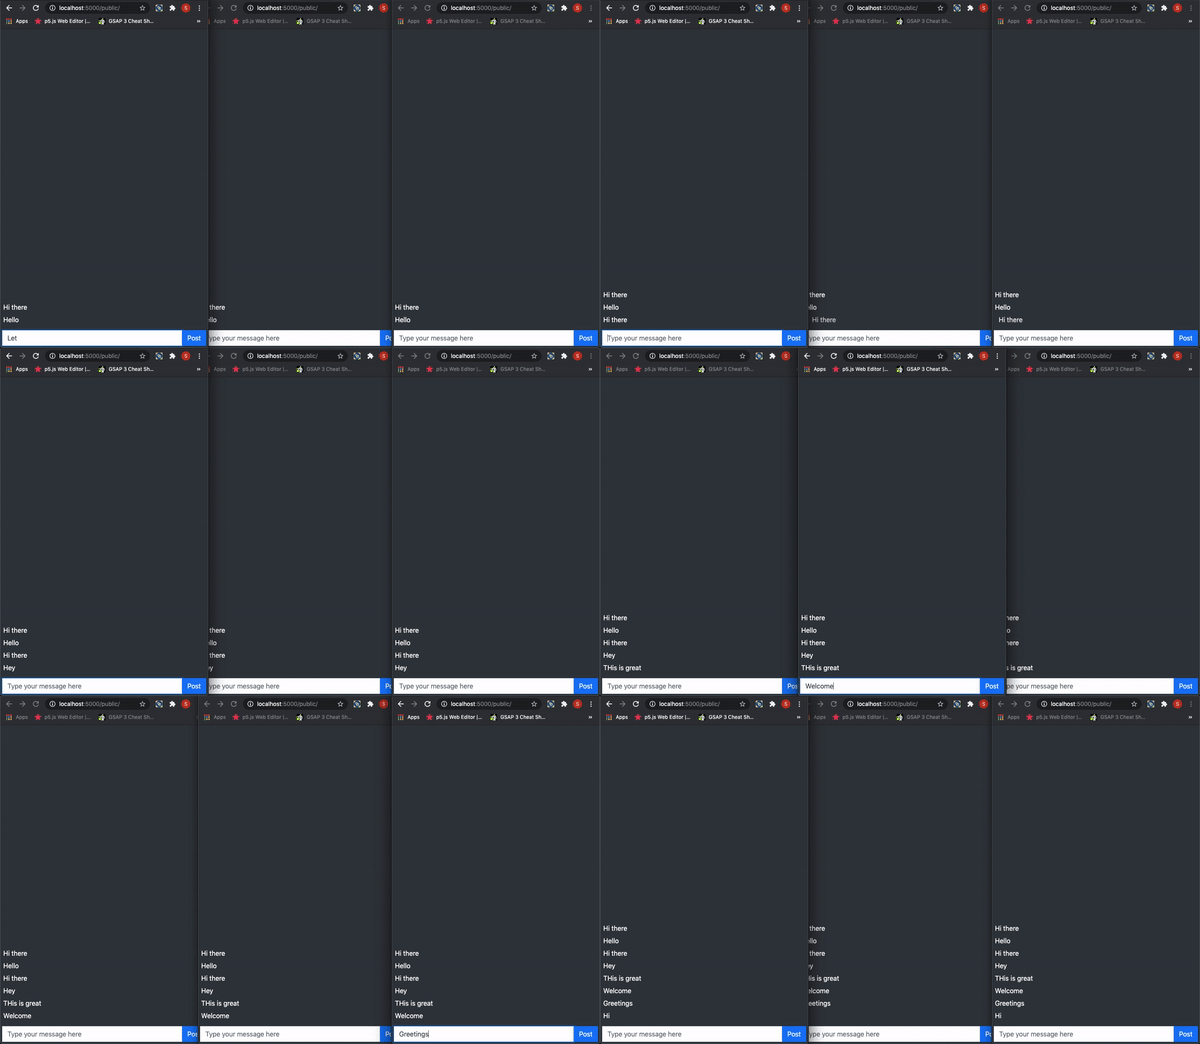
And that's it! Experiment further with all the code, like the update and delete options in the querySnapshot(). In the upcoming part we will discuss building REST APIs using Firebase Cloud functions.
